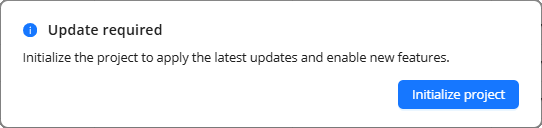
The first step in preparing a Revit project for Import into ACP is to initialize it using the ACP Revit add-in. This step adds the necessary parameters, creates essential views, and applies key settings required to support the ACP workflow.
This article outlines the requirements, step-by-step setup process, and key considerations for a successful project initialization.
Initialize a Revit project
Check that the Revit project is connected to a Shared Parameters file.
If not, follow the steps outlined in the Connecting to a Shared Parameters file article.
Navigate to the
 Augmenta tab and check that the
  Initialize Project tool is active.
 This confirms that ACP is launched and active.
The other setup and guidance tools will still be grayed at until after initialization is complete.
The Inspect Model tool, and Edit and Information panels are always available.

The ACP window can be minimized while completing the next steps, but it must remain open to complete the initialization.
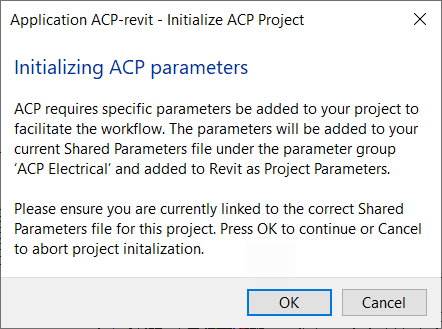 Click Initialize Project
 .png) from the Project panel.
from the Project panel.Select OK on the prompt to confirm you understand that ACP parameters will be created.
If you haven’t linked the project to a Shared Parameters file, select Cancel then return to the first step.
It will upload several items, including families which will be upgraded to match the project’s Revit version.
For detailed information on all the items added to your project during the initialization process, refer to About items created during initialization.
.png) Review the Initialize ACP window, which details completed actions.
Review the Initialize ACP window, which details completed actions.Click the down arrow
 next to the message 12 of 12 operations were successful to view the full list.
To ensure that all changes from the initialization process are accessible to any project members, and ensure that the initialization process is not accidently repeated, ACP will ask you to synchronize the file after initialization is complete.
Click the Sync Now button
to initiate the Synchronization process.
Note that you may choose NOT to Synchronize at this time, but it should be done prior to any other team member attempted to access the file to prevent workset ownership issues.
Click Close
 to exit out of the window.
 Note that all tools in the Augmenta tab are now enabled.


Pro Tips:
Confirm that all items listed in the Project Initialization Summary are present in the Revit project.
This includes verifying the following:
The ACP-Import view has been created in the Project Browser.
The ACP Conduit Run Schedule has been created in the Project Browser.
The ACP - EMT Conduit system type has been created.
The ACP-Plan template has been created, and contains the View Filters listed.
The ACP-Conduit Export workset exists (Only if collaboration is enabled in the project).
Reinitialize the project if items from the Project Initialization Summary are missing.