Exporting a conduit solution from your ACP Study into your Revit project transforms its components into native Revit conduit elements. This process bridges ACP's automated routing optimization with Revit’s modeling environment, enabling further analysis and coordination downstream.
ACP doesn’t copy geometry into Revit. Instead, it rebuilds the ACP conduit solution using the ACP - EMT Conduit type created during project initialization.
This article walks through all the prerequisites and steps to export a solution from an ACP study into a Revit project.
Prepare the project in Revit
Before exporting the solution, prepare the Revit project as described below. This helps reduce errors and post-export manual cleanup.
Set the active workset
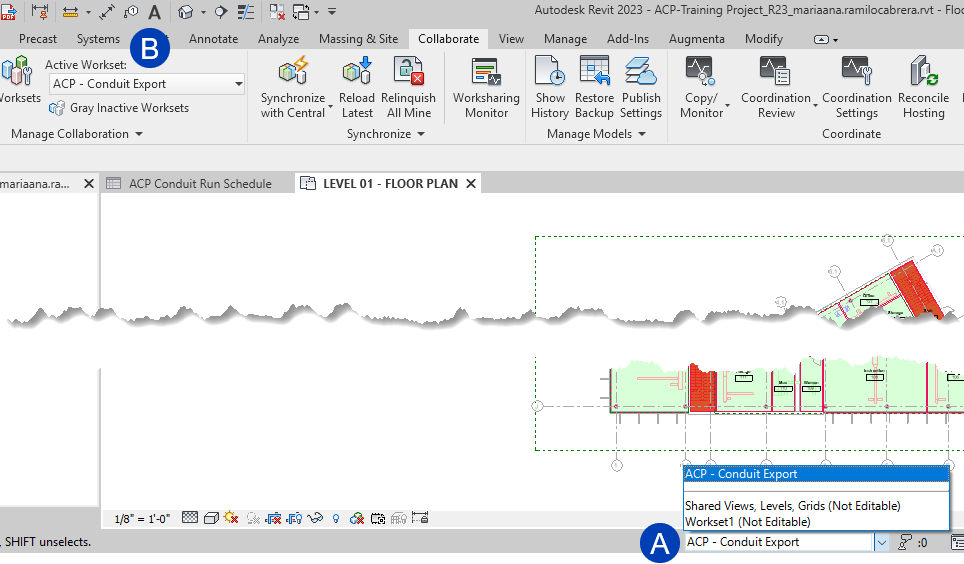 The exported conduit will be placed on whichever workset is currently active in your Revit project. We recommend using the ACP - Conduit Export workset created during project setup, though you can use any workset in your Revit project.
If not used, leave the ACP - Conduit Export workset as is. It will be recreated upon initialization anyway.
To set the active workset,
Select your preferred workset from the
.png) Active Workset dropdown at the bottom of the screen.
Active Workset dropdown at the bottom of the screen.Or the
.png) Active Workset dropdown in the Manage Collaboration panel in the Collaborate tab of the Revit ribbon.
Active Workset dropdown in the Manage Collaboration panel in the Collaborate tab of the Revit ribbon.
Export the solution
Once your Revit project is properly configured, you can export a solution from your ACP study in one of two ways:
To export a solution from the 3D Solution Viewer:
Launch ACP from the Revit project where the solution will be exported.
Multiple solutions can be exported into a single Revit project.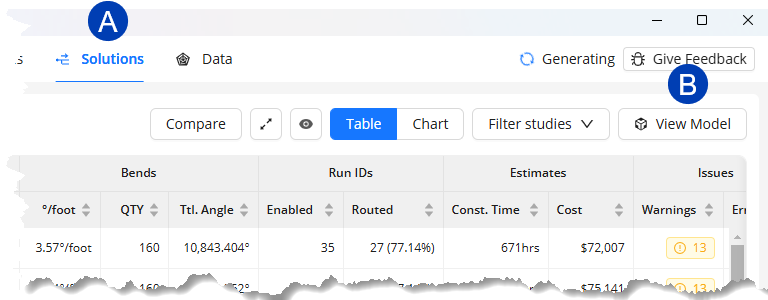 In the Projects tab, open the ACP Project which contains the solution you want to export.
Navigate to the
 Solutions tab in the Project view.
Select the
 View Model button to open the 3D Solution Viewer.
.png) Select your preferred solution from the
Select your preferred solution from the  dropdown at the top.
When the solution is displayed in the Viewer, hover over the
 Export button.
Hover over
 Export to Revit then select
  As System Conduit.
This initiates the export into your Revit project. Minimize the ACP window to view the export’s progress within Revit.
.png)
To export a solution from the Solutions table:
Launch ACP from the Revit project where the solution will be exported.
Multiple solutions can be exported into a single Revit project.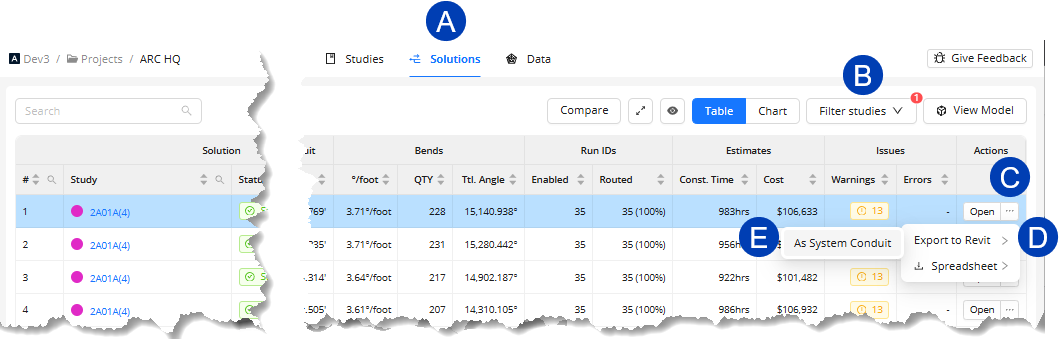 In the Projects tab, open the ACP project which contains the solution you want to export.
Navigate to the
 Solutions tab in the Project view.
Find the solution you want to export. If there are many solutions in the project, use the
 Filter studies button to show only the solutions related to a specific study.
 PRO TIP: When you open the Solutions list from a specific study, it may be automatically filtered to show only solutions related to that study. Click here to view the steps.
In the Studies tab, open the study you want to view the solutions for.
Hover your mouse cursor over the
 View Solutions button at the top right corner of the Studies tab.
Click the
 Successful Solutions button when it appears.
.png)
Under the Actions column, hover over the
 ellipsis corresponding to the solution you want to export.
Hover over the
 Export to Revit option then select
  As System Conduit.
This initiates the export into your Revit project. Minimize the ACP window to view the export’s progress within Revit.

During export, you may see a Minimum Bend Angle Violation warning. This happens because Revit cannot create bend angles smaller than 5 degrees, while the ACP solution may include small jogs which create small bends below that threshold. These bends will be removed from the export, resulting in broken conduit runs which must be manually corrected in the Revit project. This is a known issue and is actively being addressed by the development team.
After Export
When the export completes, you may review or edit the conduit runs as you regularly do in your Revit project. ACP provides several tools to help make it easier to work with and modify the exported solution. These tools are detailed in the linked articles below.